An Amazing Softball Pitching Screen Selection Guide For 2025!
Ever been nailed by a line drive during practice? Ouch! I’ve been there, and it’s no fun having your life flash before your eyes. That’s why choosing the right softball pitching screen is crucial for both safety and skill development. Let’s dive into and understand the selection of softball pitching screens and find the perfect one for you!
Understanding Softball Pitching Screen Types
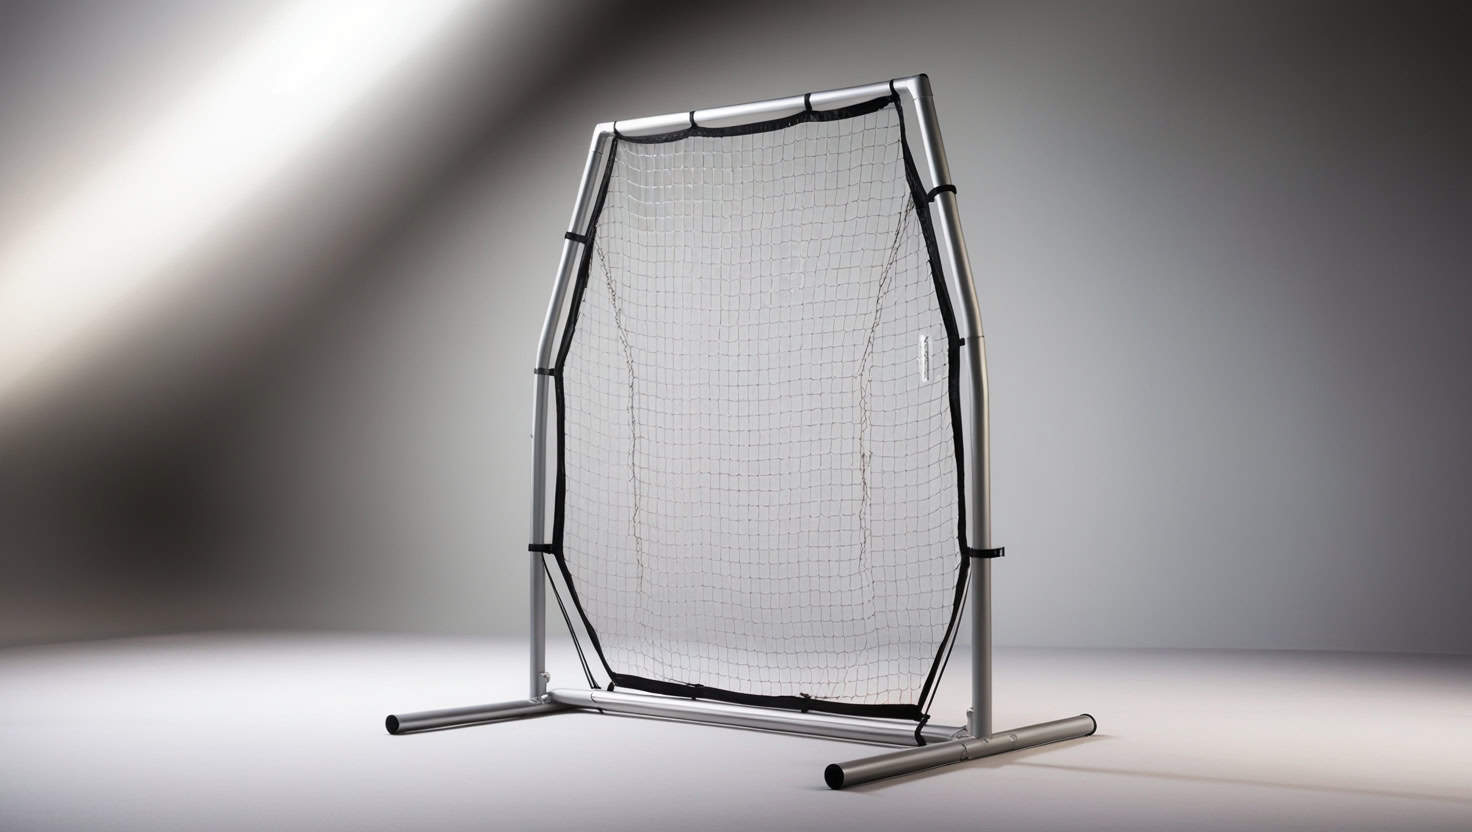
When it comes to softball pitching screen selection, there’s more to it than meets the eye. I’ve been coaching softball for years, and I’ve seen my fair share of screens. First off, you’ve got your, I-shaped, L-shaped and square-shaped screens. The I-shaped ones are nice due to their smaller size but still protect the pitcher. L-shaped ones are great for a little extra protection of the pitcher’s lower body, while the square-shaped ones give you a bit more coverage on the sides.
Now, don’t get me started on portable vs. stationary options. Portable screens are a godsend when you’re hopping from field to field. I remember lugging around those old heavy screens – talk about a workout! But nowadays, we’ve got these nifty portable ones that fold up like a dream. On the flip side, stationary screens are rock-solid and can take a real beating if you’re practicing in one spot.
As for materials, most screens these days are made from steel, aluminum or flexible fiberglass frames with netting. The fancy ones with aluminum frames or flexible fiberglass fames are much lighter and easier to transport. Just remember, when it comes to softball pitching screen selection, durability is key. You don’t want that thing falling apart mid-practice!
Key Factors in Softball Pitching Screen Selection
Alright, let’s dive into all the details of softball pitching screen selection. Size matters, my friends! You want a screen that’s big enough to protect your pitcher but not so massive that it takes up half the field. I usually go for something around 7 feet tall and 4 feet wide which is commonly referred to as the I-shaped screen. It’s like Goldilocks – not too big, not too small, just right.
Durability is another biggie. Trust me, these screens can take a beating. You want something that can stand up to being hit time after time. Weather resistance is also important especially if the net is going to be left outside a lot in the elements. You don’t want a screen that rusts faster than you could say “play ball” after one rainy season. The steel screens are more susceptible to rusting so make sure they are nicely painted to avoid having rust issues.
Now, let’s talk setup. You know what frustrates me like crazy? Screens that take forever to put together. When you’re trying to get practice started, the last thing you want is to be wrestling with a complicated screen. Look for something that’s easy to set up and take down. One of my favorites is the GoSports Baseball & Softball Pitching Screen which at the time of publishing goes for around $60 on Amazon.
As for price, well, you get what you pay for. But that doesn’t mean you need to break the bank. There are plenty of solid options under the $100 range and higher quality options in the $100 – $300 range. Just remember, when it comes to softball pitching screen selection, investing in a good screen now can save you headaches (and dollars) down the road.
Top Features to Look for in Pitching Screens
Okay, listen up because this is important stuff when it comes to softball pitching screen selection. First off, quick-release mechanisms are a game-changer. I’m talking about screens that pop up faster than a pop fly. They’re a lifesaver when you’re short on time or patience (which, let’s face it, happens more often than we’d like to admit).
Next, pay attention to those corners and edges. They’re like the Achilles’ heel of pitching screens. Look for reinforced corners that can take a hit without buckling. I’ve seen too many screens bite the dust because of weak corners. Don’t let that happen to you!
And don’t forget about storage and transport. I once had a screen that was a beast on the field but a nightmare to store. It was like trying to fold a map in a windstorm. Now, I always look for screens that fold up nice and compact. Your garage (and your sanity) will thank you.
Popular Brands in Softball Pitching Screen Market
Let’s chat about some of the heavy hitters in the softball pitching screen selection game. First up, we’ve got Jugs Sports. These guys are like the Babe Ruth of pitching screens – they’ve been around forever and they know their stuff. Their screens are built like tanks and can handle just about anything you throw at ’em (literally).
Then there’s Bownet. If Jugs is Babe Ruth, Bownet is like the new hotshot rookie. They’re all about lightweight, portable screens that you can set up in a jiffy. Perfect for coaches on the go or teams that move around a lot.
Remember, when it comes to softball pitching screen selection, it’s not just about the brand name. It’s about finding the screen that fits your needs and your budget. Don’t be afraid to shop around and compare features. Your perfect screen is out there, I promise!
How to Properly Use a Softball Pitching Screen
Alright, gang, let’s talk about how to use these bad boys properly. First things first – placement is key. You want your screen about 5-6 feet in front of the pitcher’s rubber. Too close, and your pitcher might feel cramped. Too far, and it’s about as useful as a screen door on a submarine. Pro-tip: for L-shaped screens the goal is to have the screen far enough away so when you are pitching underhand the ball doesn’t hit the screen. Don’t have it too much farther past that point to maximize the area you are protected.
When it comes to adjusting the screen for different pitchers it is pretty easy, for an L-shaped screen with a right handed pitcher the screen should look like a regular L shape when looking at the screen. For a southpaw left handed pitcher you just need to turn the screen 180 degrees so when you look at the screen it is a backwards L. The best part of an I-shaped screen is you don’t have to flip it depending on which hand the pitcher throws other than moving it to the side a little to give room to throw the pitch just to the side of it. Then once the ball is pitched just step behind the screen.
Now, let’s chat maintenance. A little TLC goes a long way in softball pitching screen selection and care. Wipe it down after practice, check for any loose bolts or tears in the netting or corners. And for the love of the game, please store it properly! I’ve seen too many good screens ruined by being left out in the elements or just casually thrown into storage bags. Getting knots in the net is no fun at all!
As always safety first, my friends! Make sure everyone knows the screen is there to protect, not to lean on or horse around with. If a player tries to use the screen (particularly the traveling nets) as a backrest during practice. Let’s just say that won’t end up well for anyone involved.
Enhancing Your Practice with Pitching Screens
Okay, here’s where we really dive into making the most of your softball pitching screen selection. Let’s talk drills. One of my favorites is the accuracy challenge. There is a lot of space between shortstop and second base. Have your hitters work on trying to hit to center field without hitting the pitcher in the process. This drill is very dangerous and don’t do if you don’t have a screen protecting the pitcher on miss-hits.
Want to really up your game? Get more than one softball screen and try simulating game situations with screen placement. Move it around to represent different spots you want the batters to try and hit. It’s like creating your own little softball video game, but in real life!
For team practices, these screens are worth their weight in gold. Use them for pitching practice, sure, but don’t stop there. Set them up for outfield drills to protect your shortstop and second basemen while the outfield balls are being hit to them.
Speaking of batting practice, here’s a pro tip: use the screen to work on hitting to opposite fields. Place it slightly off-center and challenge your batters to hit around it. It’s a great way to improve their all-field hitting skills.
Remember, when it comes to softball pitching screen selection and use, the only limit is your imagination. Get creative, have fun, and watch your team’s skills soar!
Selecting the right softball pitching screen can make a world of difference in your practice sessions and overall performance. Remember, it’s not just about protection – it’s about elevating your game! Whether you’re a coach looking to safeguard your team or a player aiming to hit a perfect spot, the right screen can be a game-changer. So, what are you waiting for? Get out there, find your perfect pitching screen, and start dominating the diamond! Your teammates will thank you for making such a smart choice in your softball pitching screen selection.
Craving more softball wisdom? Unlock game-changing tips below!